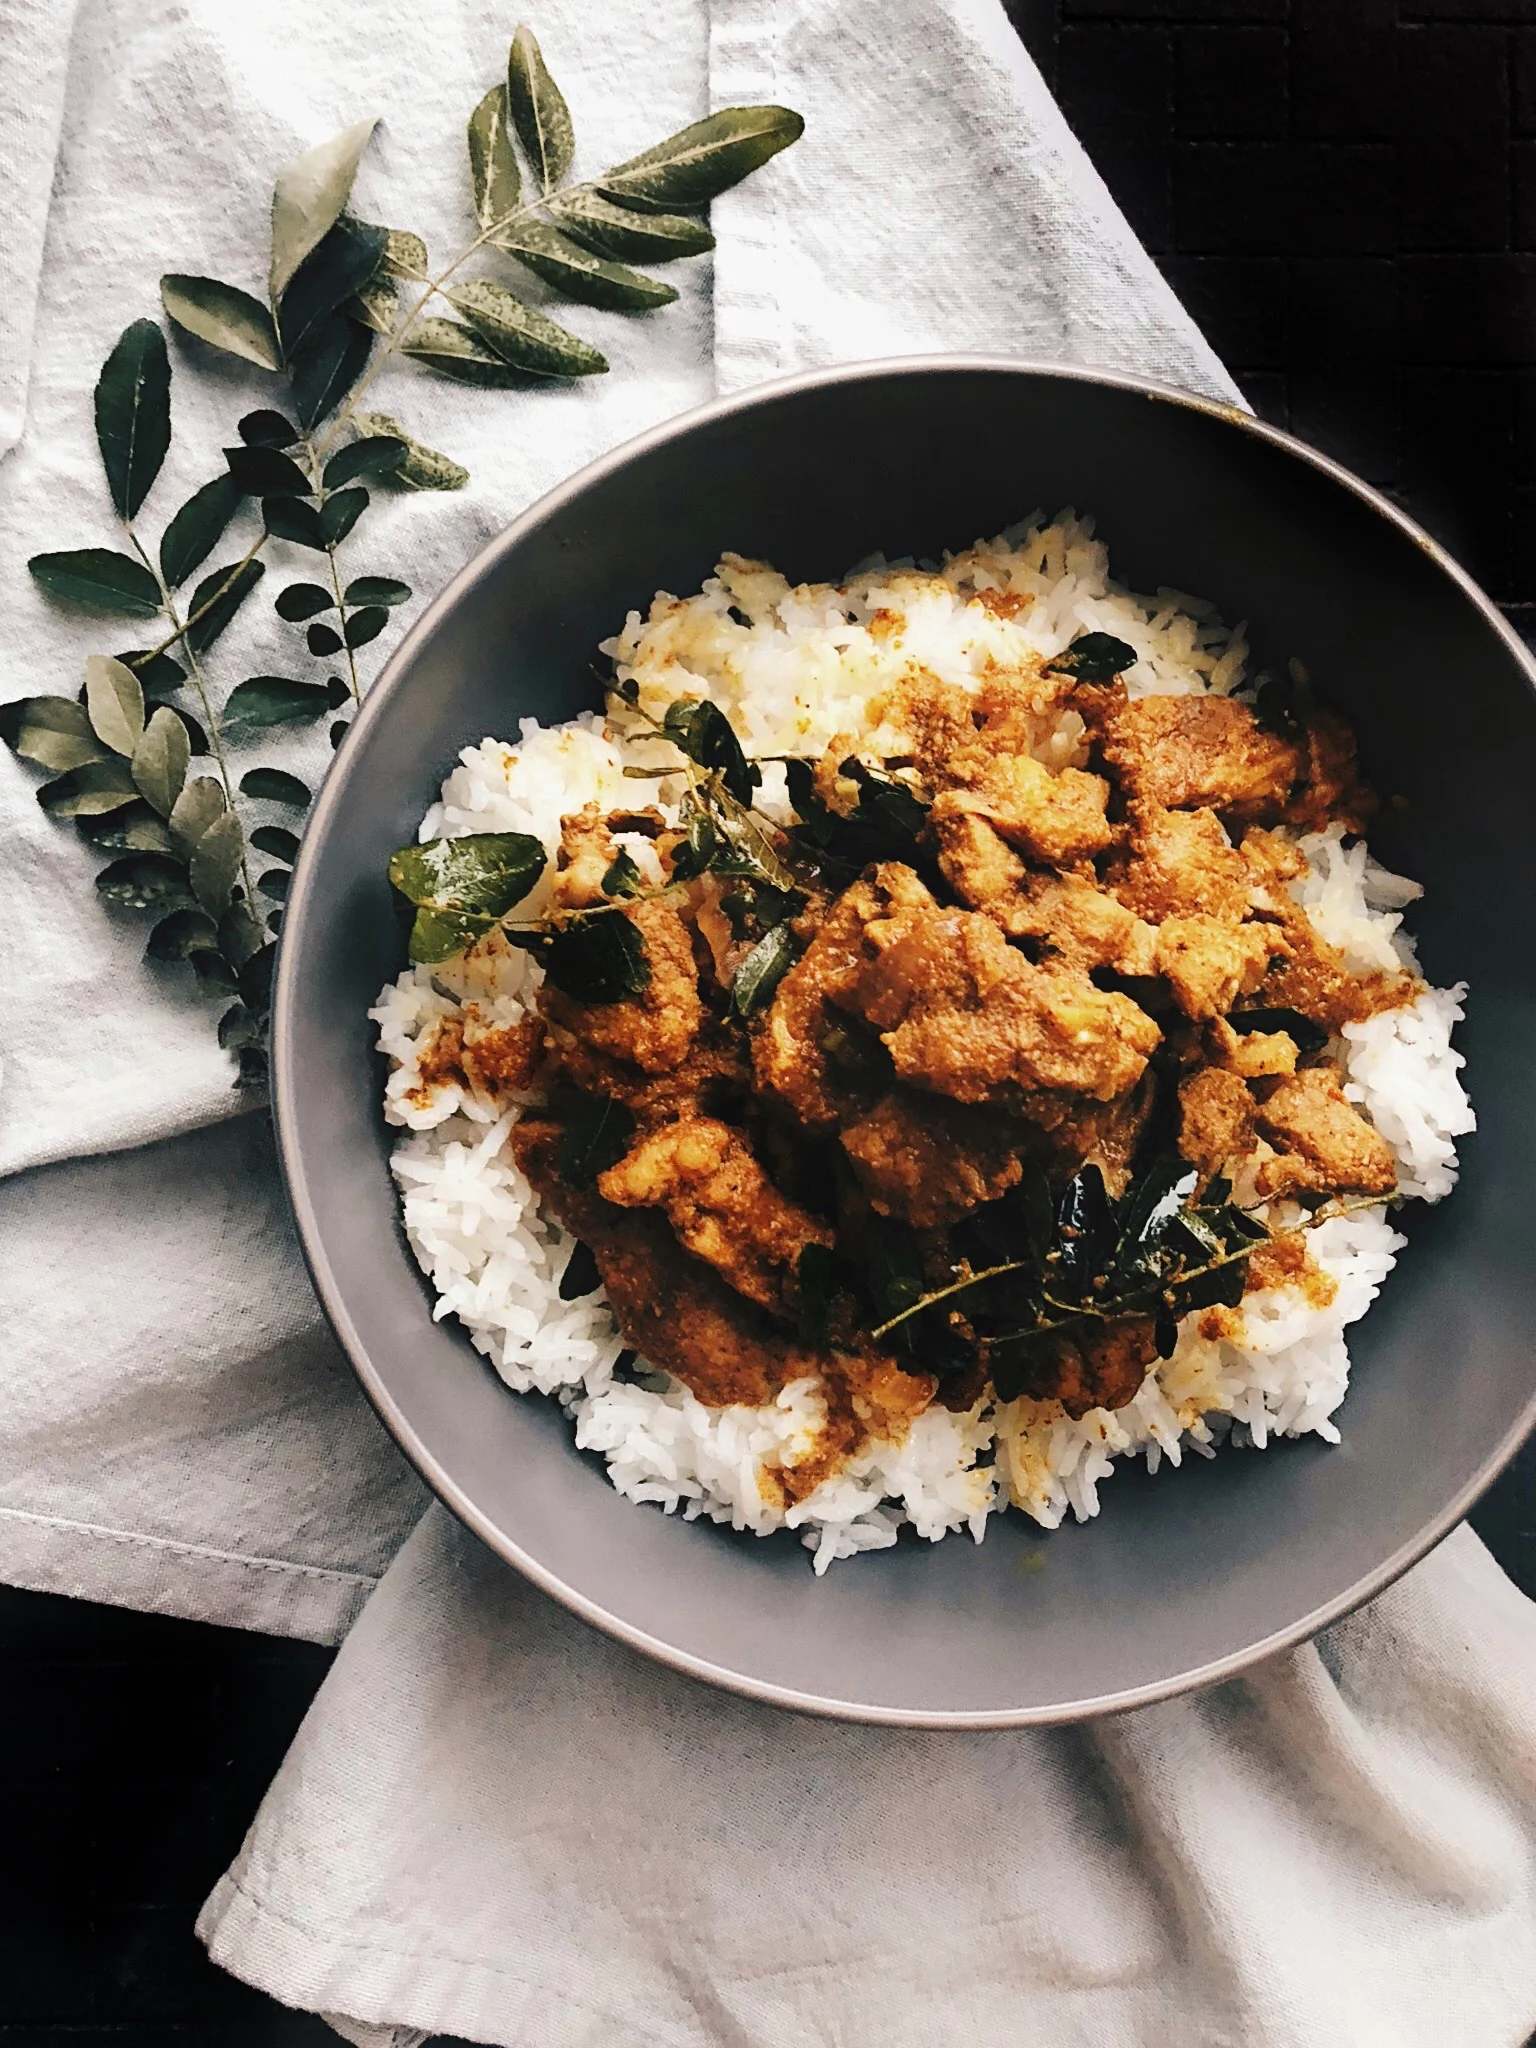
mum's chili chicken
Its funny how some dishes just don’t have a name but we just reference it by what ingredients goes into it. Like this dish is just called chili chicken because its just mainly chili and chicken! I had resisted getting a chopper/food processor for the longest of time because I don’t exactly have a lot of kitchen storage space and I had survived so long without one I thought it wasn’t very necessary. But when mum told me that she had made chili chicken recently, I wanted it so much I caved and bought a chopper immediately. One week later, my chopper got delivered and I got my chili chicken.
Recipe
Ingredients
2 chicken legs
5 big red chillies
1 chili padi (optional)
Soy Sauce
Salt
Water
Oil
Method
Deseed your chilies and cut them up into inch long strips so it’ll be easier to chop. If you have a chopper of blender, simply throw all the chilies in and blend until you get a paste. If you have a pestle and mortar, that works too. Or if you don’t have any of those at all, happy chopping with your knife. It may take some time, but trust me, its worth it.
Once you have your paste, rub it on your chicken with a pinch of salt and a dash of soy sauce. Then add a little water to the mixture for a little gravy. If you like it dry and without gravy, you can skip the water. Make sure you give your chicken a good massage and rub in your marinade into all the little nooks and crannies around the chicken.
Leave the chicken to marinate for a few hours. I usually leave it for about 4 hours but you can leave it overnight in the fridge or if you’re short on time, I’d recommend at least an hour. When you are ready to cook, drizzle a little oil over your chicken then cover your chicken (if you have a lid, or if you don’t, use foil to wrap it up) and pop it into the oven at 180 degrees C until you see the skin looking all golden. We usually serve it with rice and a generous helping of sliced cucumbers.
Enjoy!
Halfway through the roast


